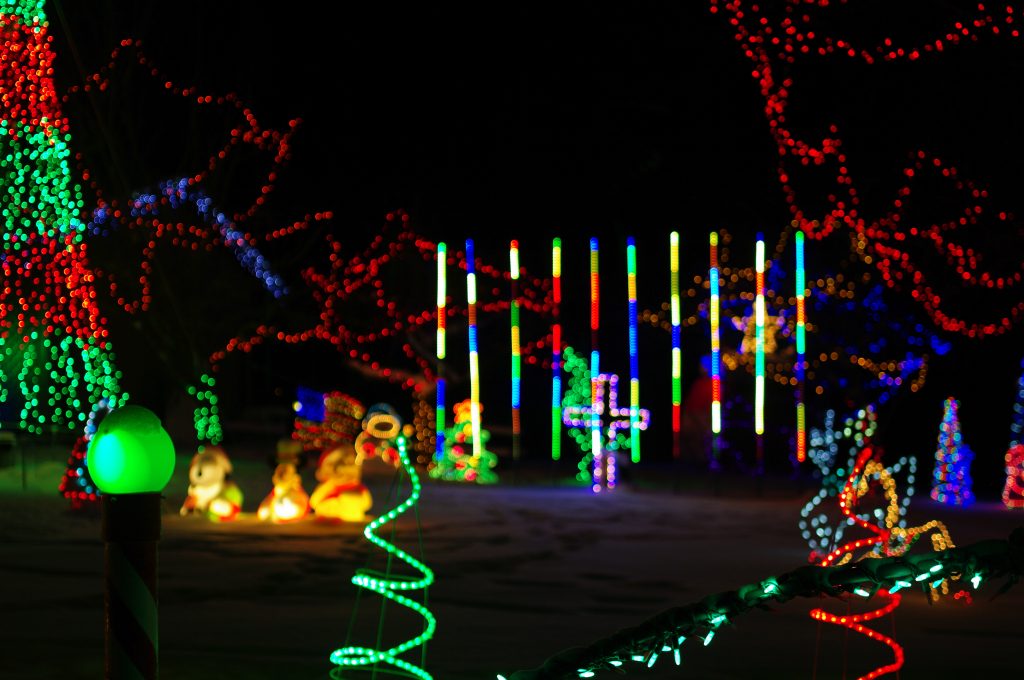
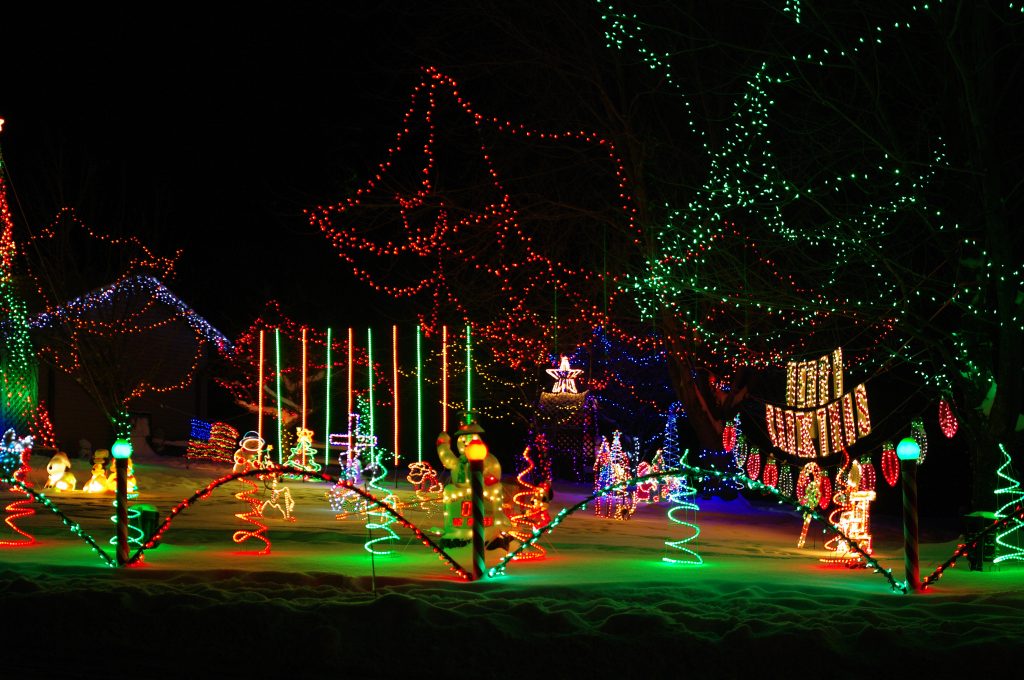
For the 2013 season, we decided to add a “pole matrix”. The basic concept is something we’ve seen in other displays, most notably our friend Frank Picozzi who has a wonderful display in Rhode Island. The basic idea is to have a row of tall poles, divided up into sections, with each section independently controlled by the computer. With creative programming, you can program the lights to look like fountains, display patterns, and even huge scrolling text.
Since many of our more recent additions in the prior few years were ‘RGB’ elements (meaning they can be virtually any color), we decided to kick the ‘pole matrix’ idea up a notch, and create an RGB version of it. After exploring several different options, we found the most cost-effective (and easiest) way of doing it was to use RGB pixel ribbon. The ribbon we’re using contains 30 RGB LEDs per meter, with each group of 3 being individually addressable by the computer and set to any of millions of colors.
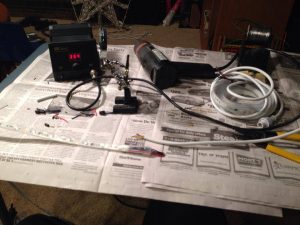
The first task was to divide the ribbons into two sections. They are sold in 5 meter strips, but we divided them in two, making them just over 8 feet long (2.5m) each. The picture below shows the work of cutting them up and soldering on wiring harnesses to each half
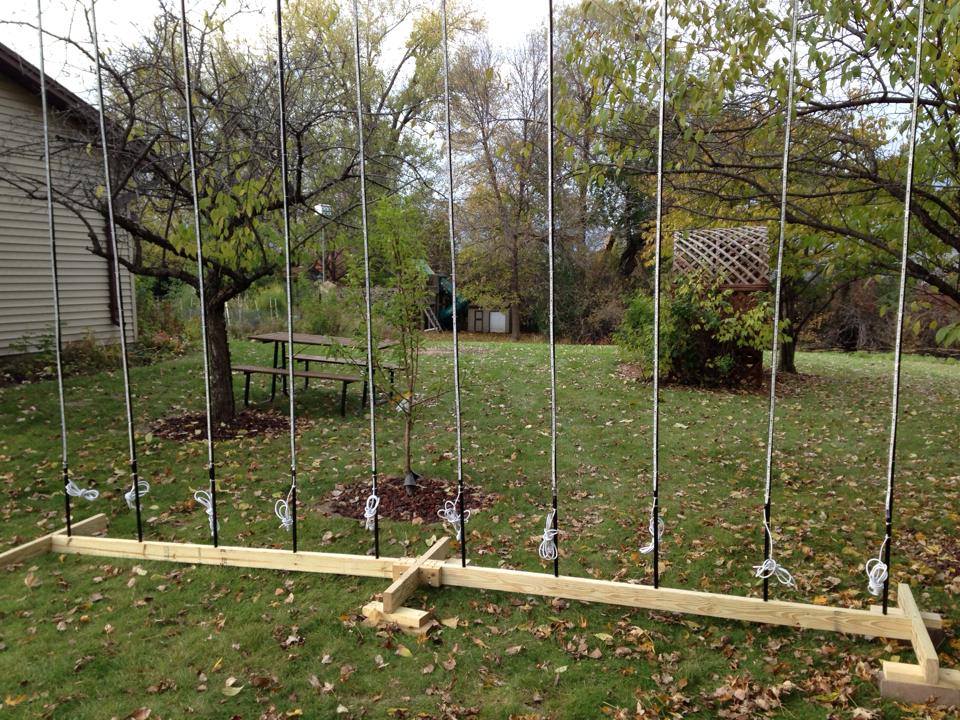
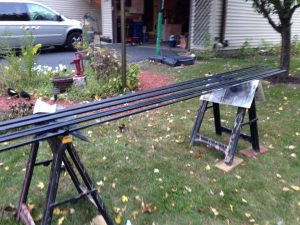
For the actual poles, we used 1/2 inch electrical conduit (EMT). Our matrix has 10 poles. Each pole is 10′ long, which works well with the 8′ lighted length of the ribbon – the extra 2′ goes at the bottom and helps raise the poles up over any snow. We spray painted them black to help better hide them in the display when they’re not lit up:
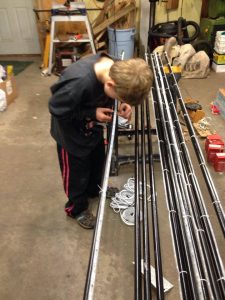
The next task was to install the LED ribbon onto each pole. Our 9 year old was a great helper with this project, which entailed a large volume of zip ties to attach the ribbons. In the picture below, you can see the rolls of flex ribbon on the floor below, which were waiting to be installed on the remaining poles.
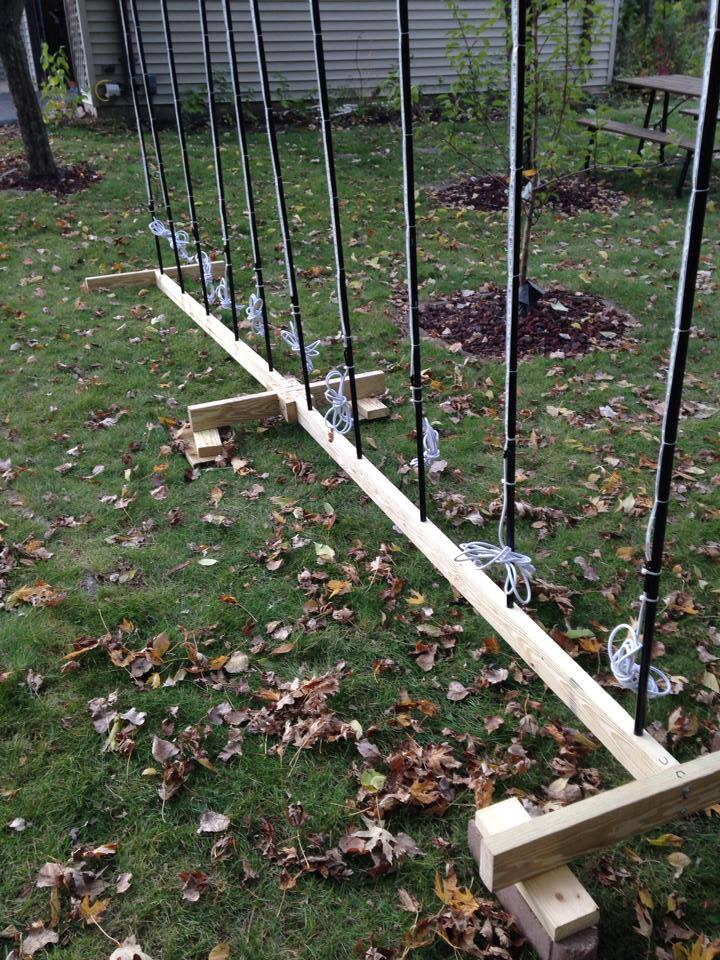
Next we needed a means to support the poles. We definitely didn’t want to have to be banging them in the ground each year. But the support system needed to break down to store easily as well, as the entire grid was going to be nearly 15 feet wide. What we came up with was to use pressure treated 2×4 lumber. Two long boards span the width of the matrix, with holes drilled in to the edge to support each pole. In the center is a cross brace that is also a leg, and bolts and wing nuts hold it all together. At each end is another leg, which screws on into threaded inserts so the entire thing should be able to be taken up and down for years to come:

Putting it all together is pretty easy. Once the base is set up, it just needs to be leveled, and the poles placed into each hole with the lights facing forward.
Technical info: Each pole contains 25 ‘pixels’ or individually controllable sections. However, for the effect we were looking for, we didn’t need this fine grain of control. Instead, we’ve set up the pixel controller so that each pole has 9 controllable sections – the bottom 8 of them are about a foot each, and the top one is about 4 inches (that’s just the way the math divided out). This makes 27 channels per pole (9 sections times 3 primary colors per section) or 270 channels for the entire 10-pole matrix. If we were running the pixels to their fullest granularity, it would have been 75 channels per pole, or 750 channels for the entire matrix. In the future, it’s a simple matter of reconfiguring the controller (and a somewhat less simple matter of resequencing all the musical selections) if we want to make this change.
The poles are controlled by the same controller we originally used on our Mega Tree uses – a Sandevices E681. In fact, this very same controller was one of two that controlled our pixel mega-tree its first year – thanks to a firmware update from the vendor, we could now control the entire Mega-Tree with a single controller, which freed up the second one for this project. Cost effective! (Side note: we later switched the Mega Tree to use a Falcon pixel controller, and the other Sandevices controller now controls pixel and DMX effects right in front of our house).
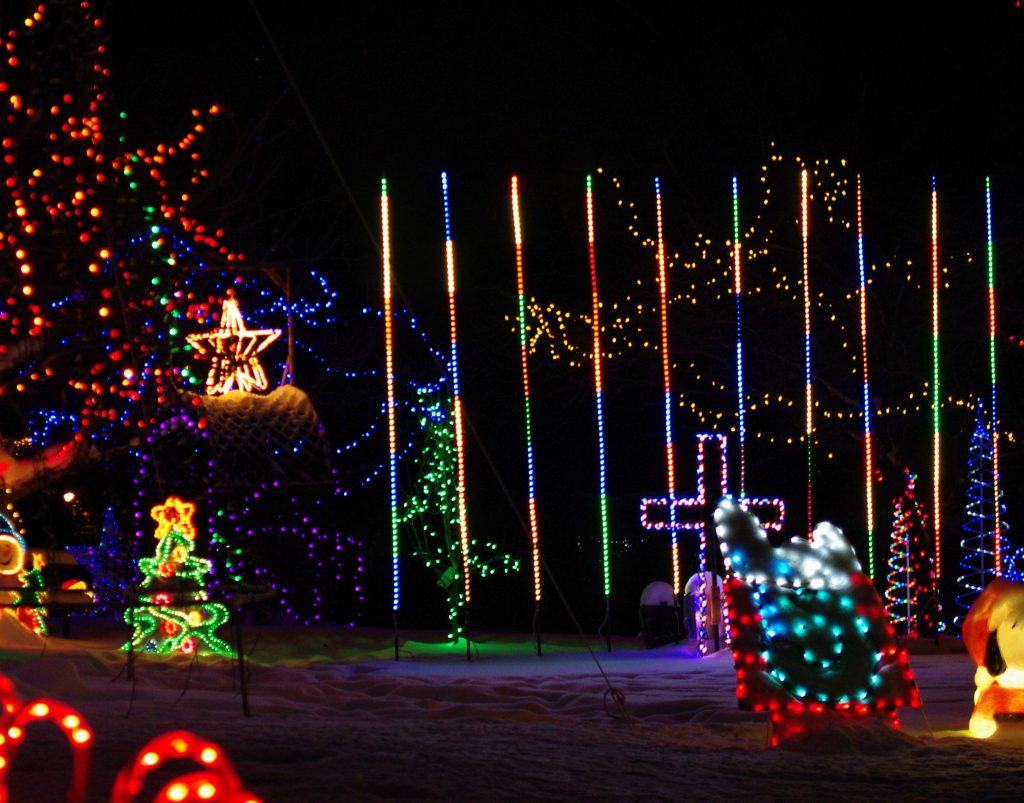
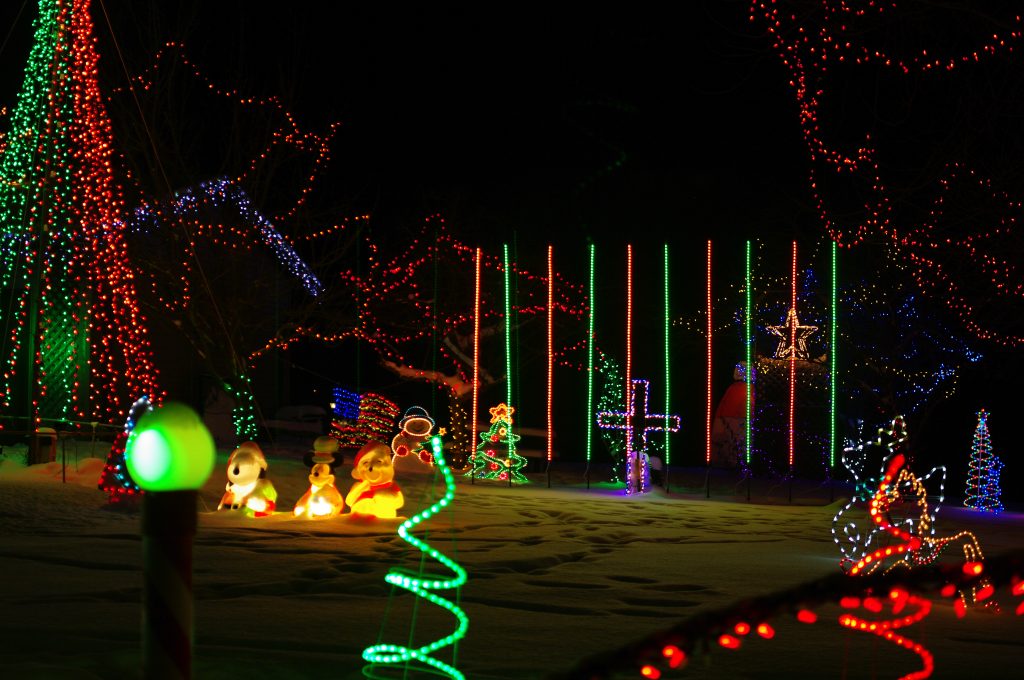
Here are some still pictures of the Magic Matrix doing just a handful of the effects it can do. Check out our display pages for videos of it in action.


